The 3rd Japan Market and Amsterdam Food Festival

Last weekend was a busy end of the week or better yet end of the month. November has ended and the Festive month starts. So in hindsight it was a nice way of ending it fun and joyful with my siblings. Last week program was The FoodFestival Amsterdam at the RAI and on Sunday was The 3rd Japan Market (Fair) at the Lloyd hotel, both in Amsterdam. (I am kinda slow on posting.)

The 3rd Japan Market (Fair)

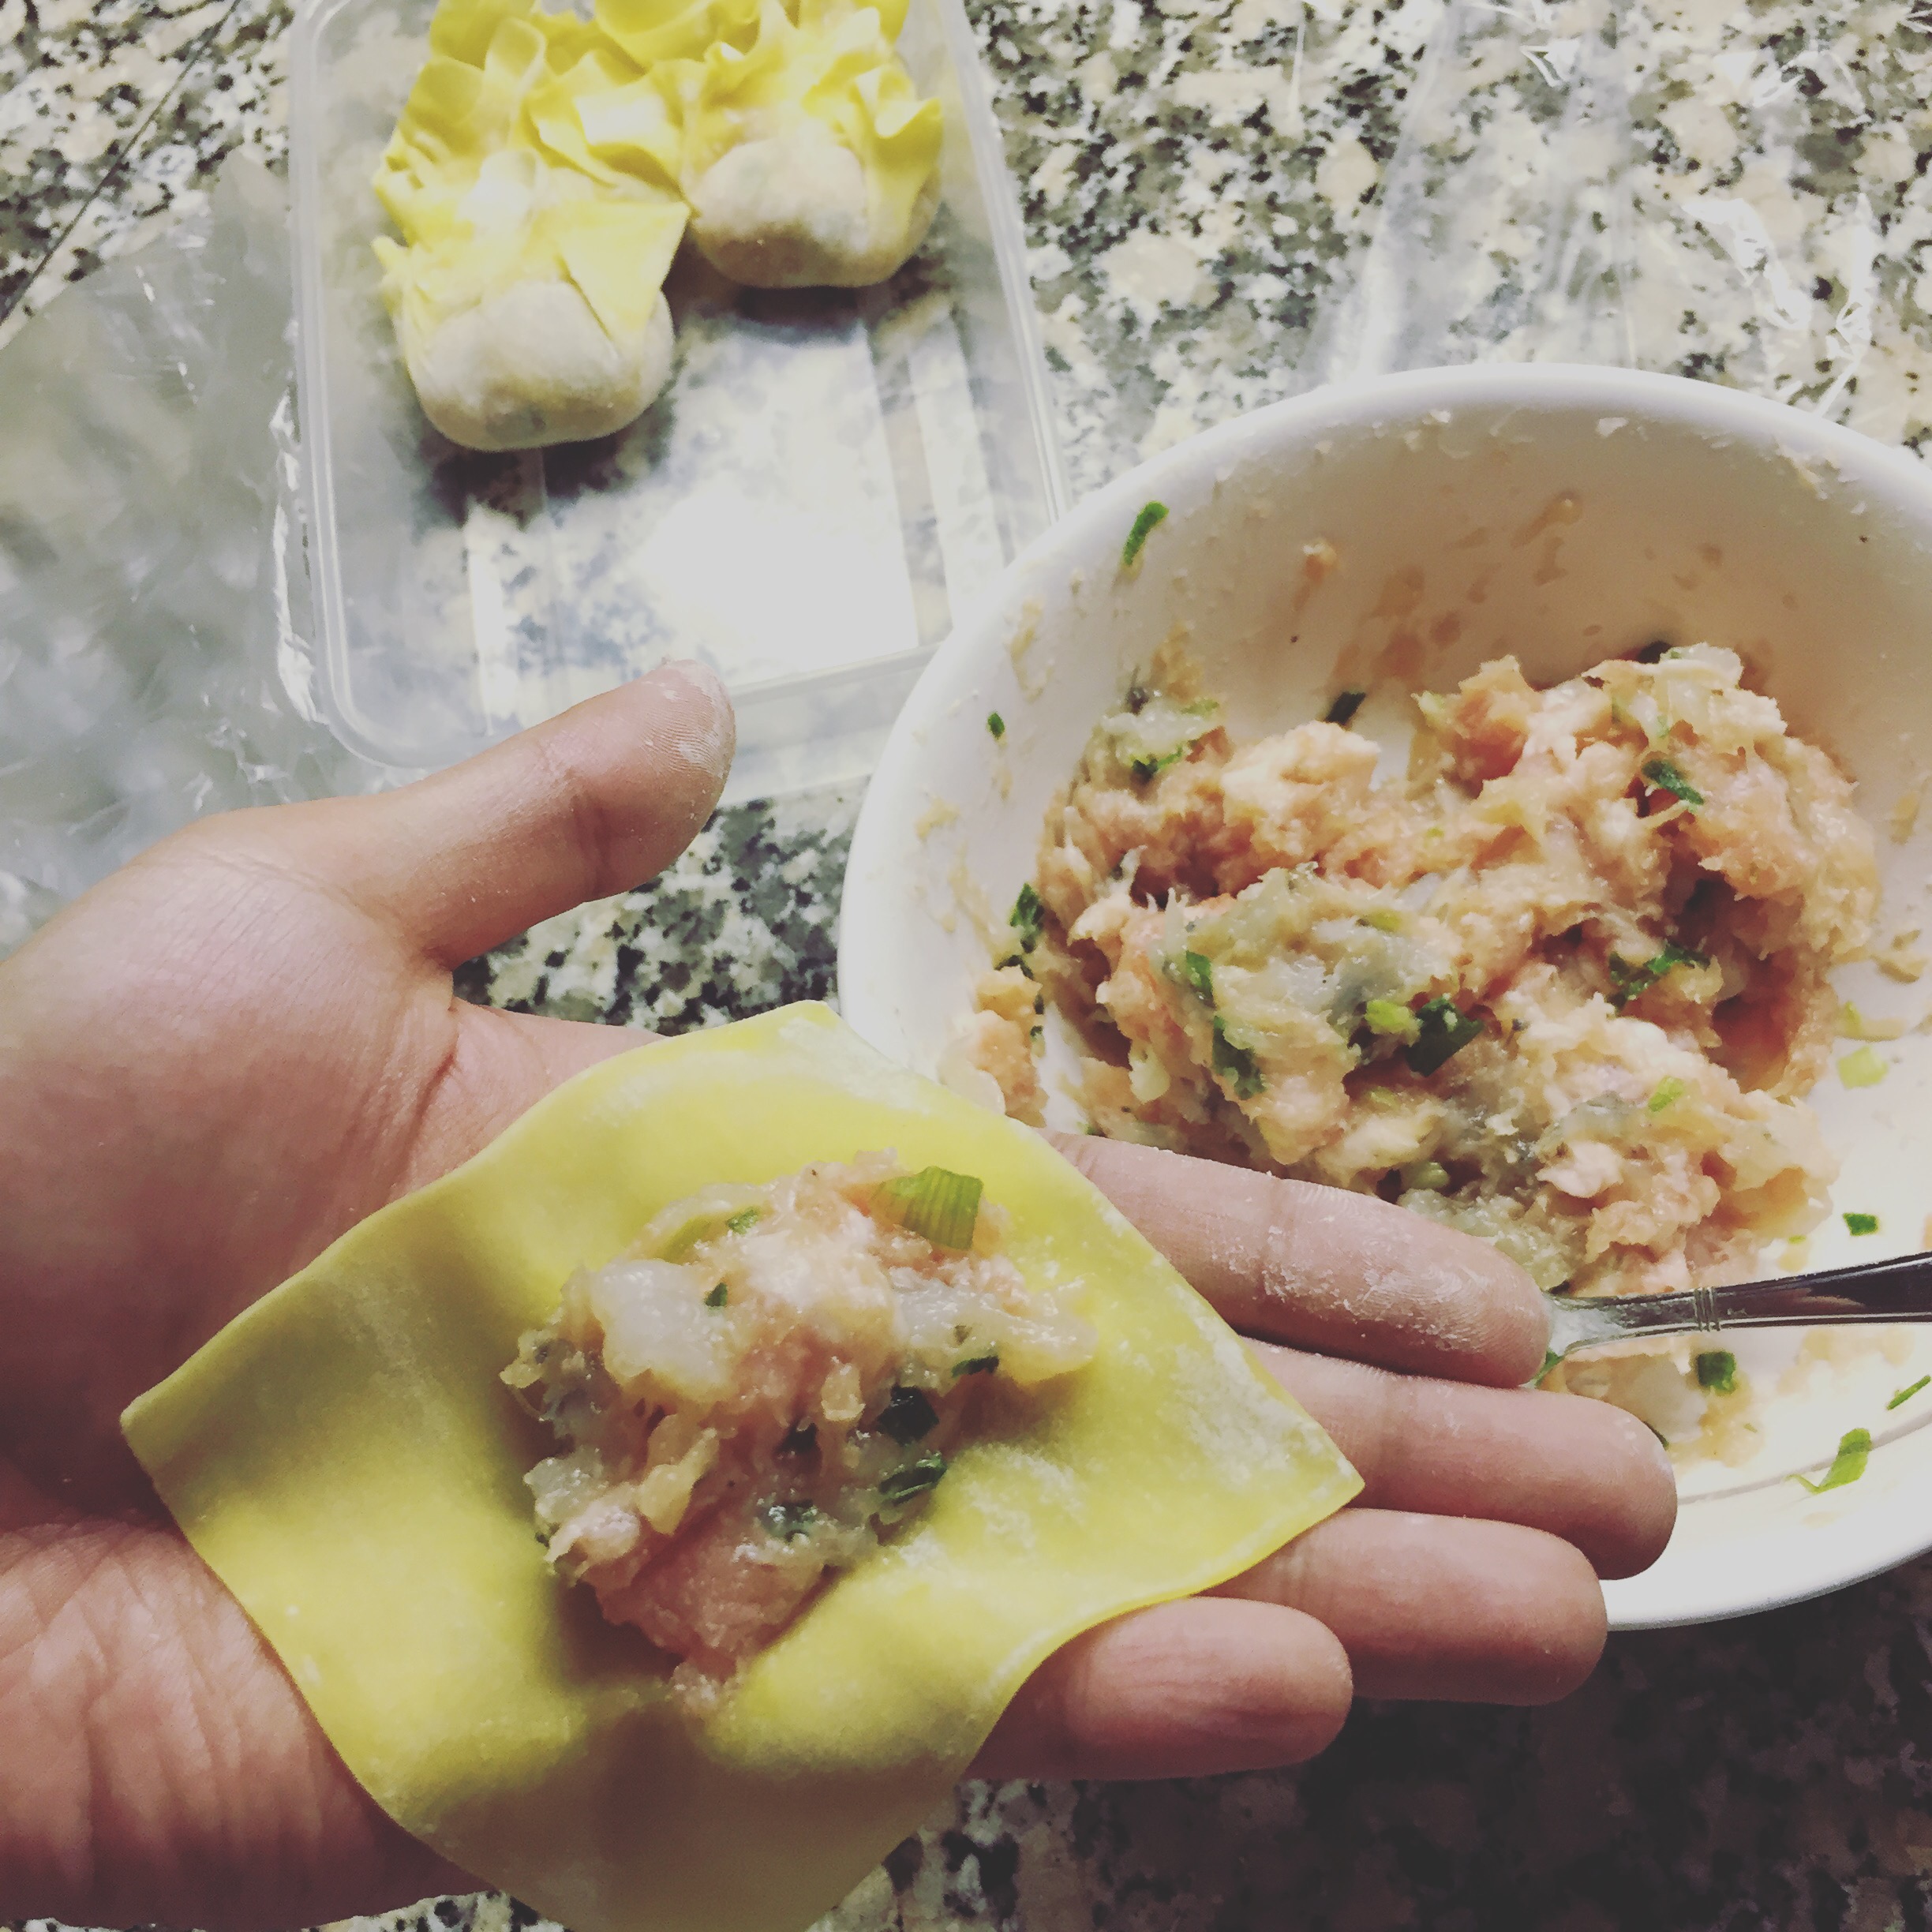
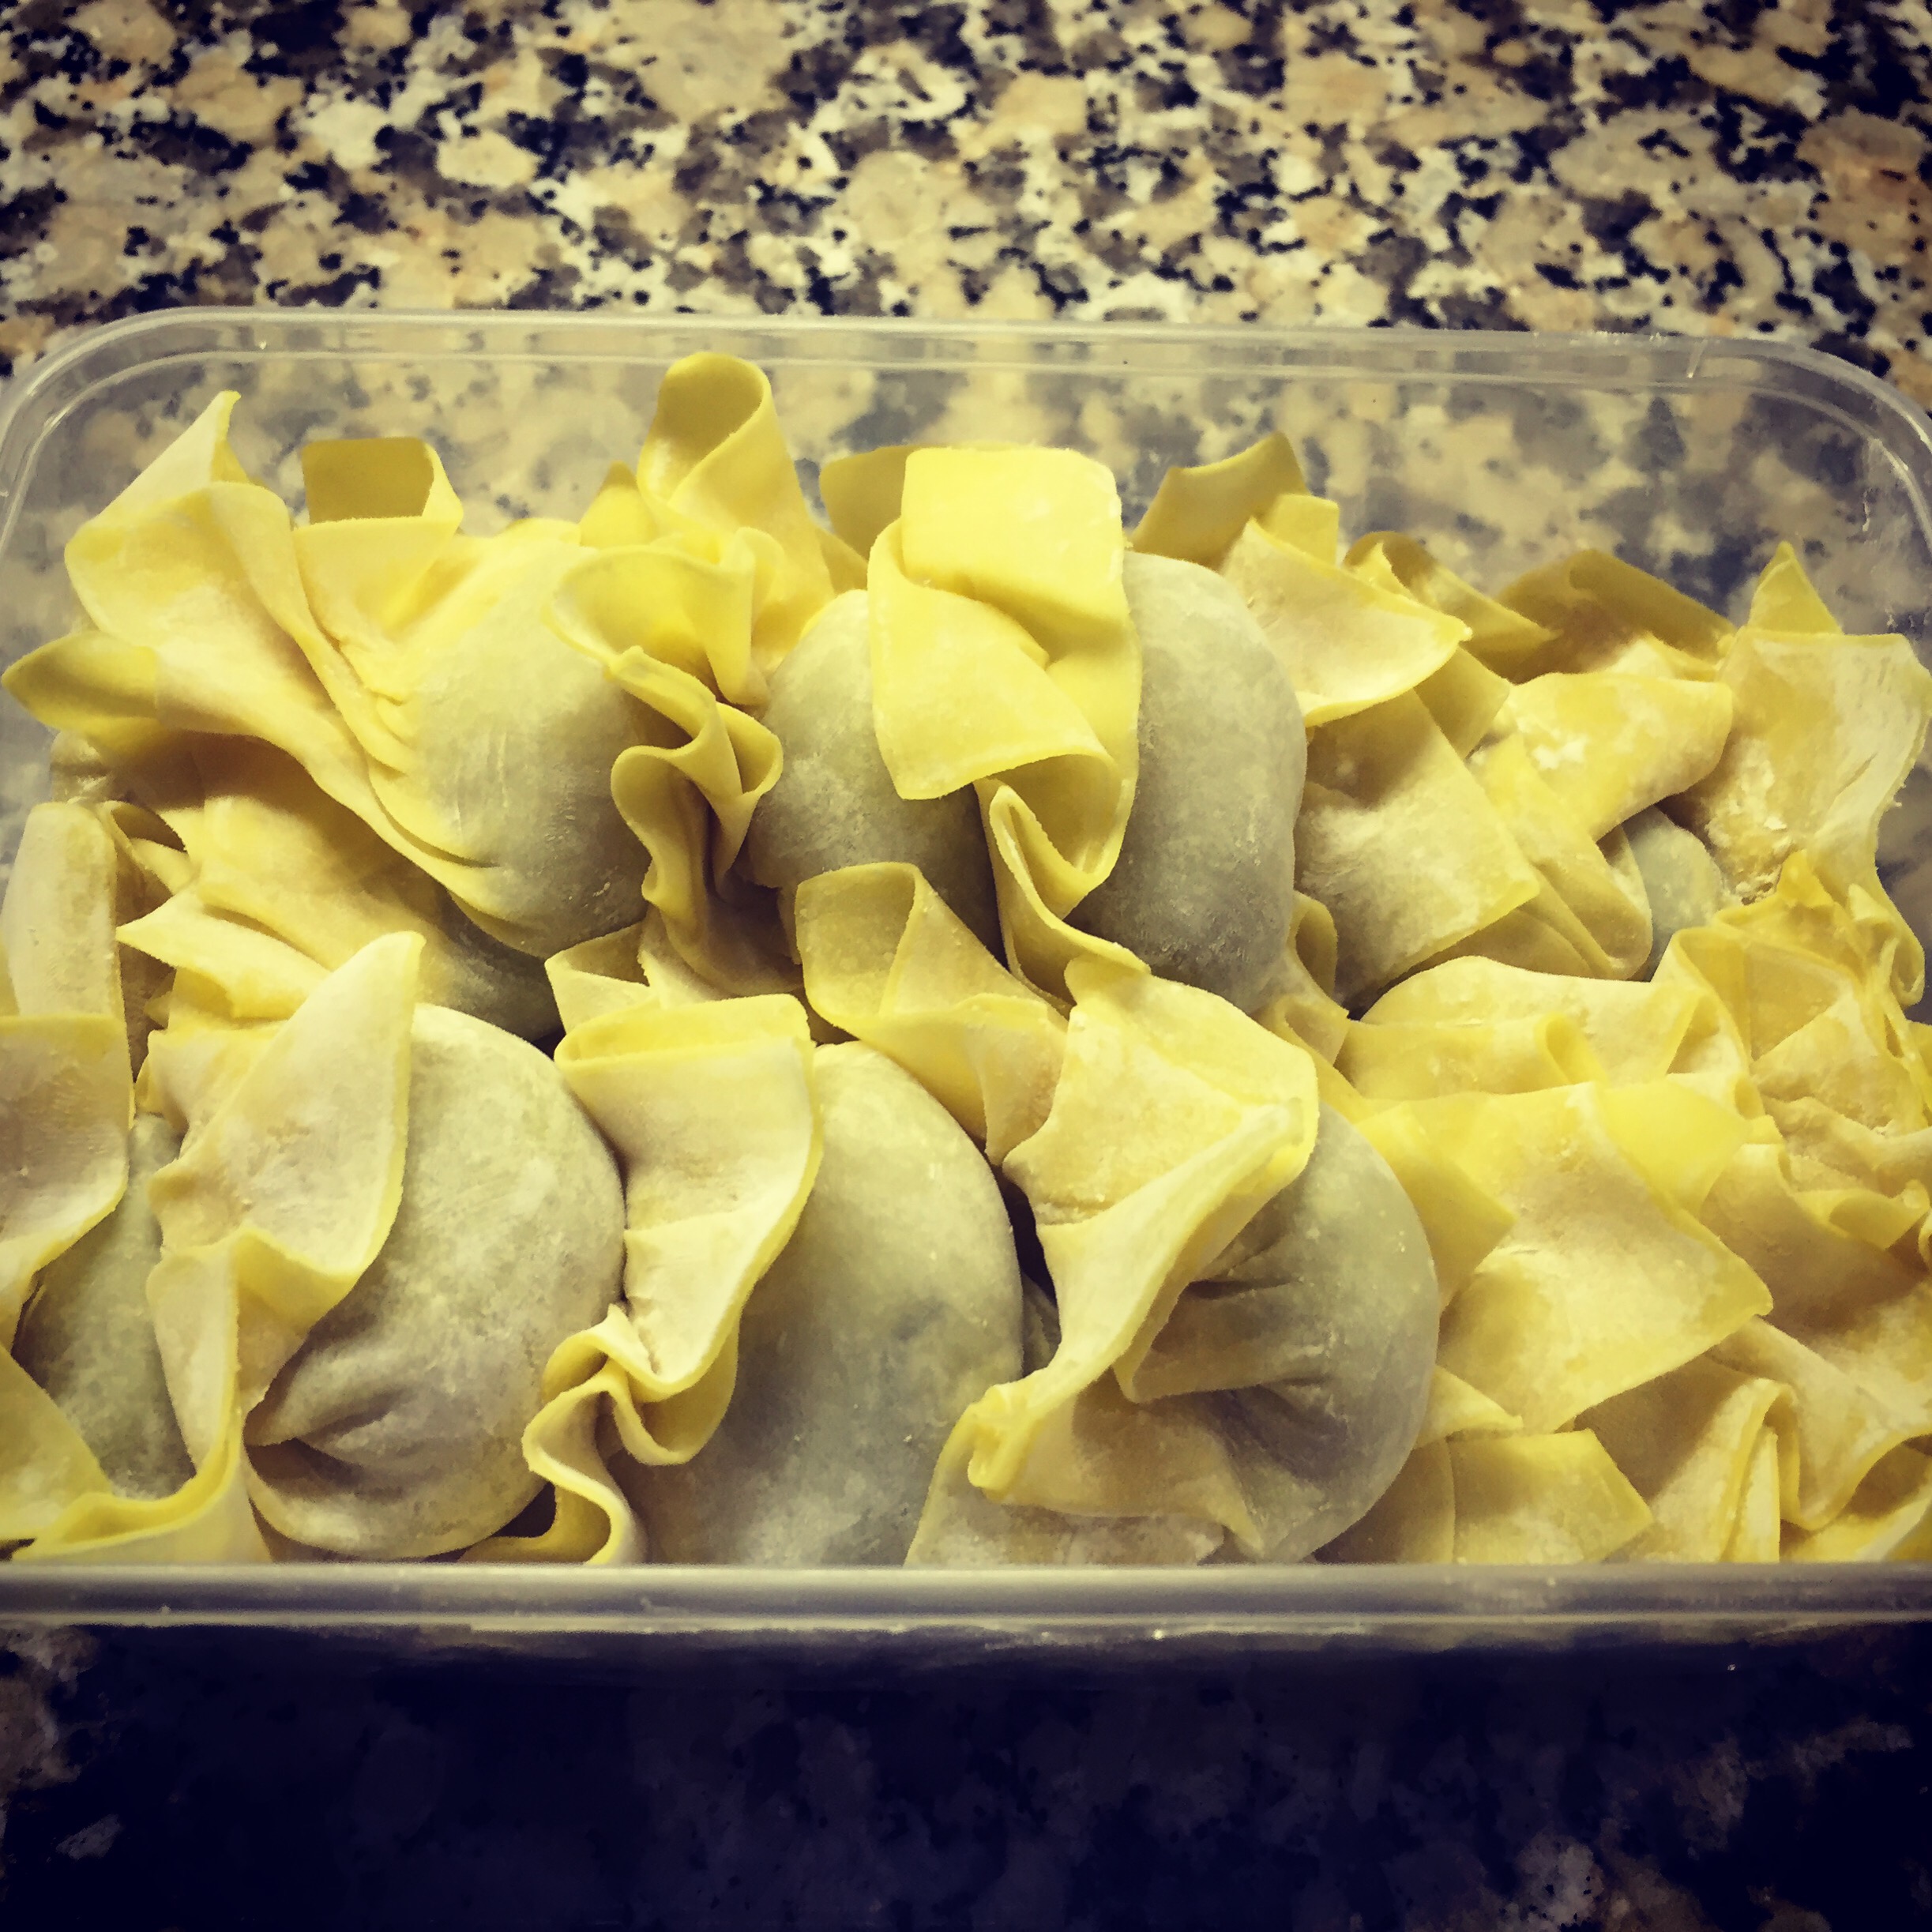
As you might know in my previous post the weather in the Netherlands sucks at the moment with lots of rain, wind and greyness. Nevertheless, I had a rather relaxed and laid-back morning with some steamed buns for breakfast. However it was a bit to laid-back and I had to change-gear from ‘zero-to-100’ for the ‘Metro’ (subway) to Amsterdam Central Station. The meet-up with my siblings was at 12:30 p.m. and I was just in time to get the 12:10 Metro to ‘Centraal’. I was the first one to arrive, my sister, brother and his girlfriend were next up and right on time. Then we took the tram to The Lloyd Hotel were the event was held.

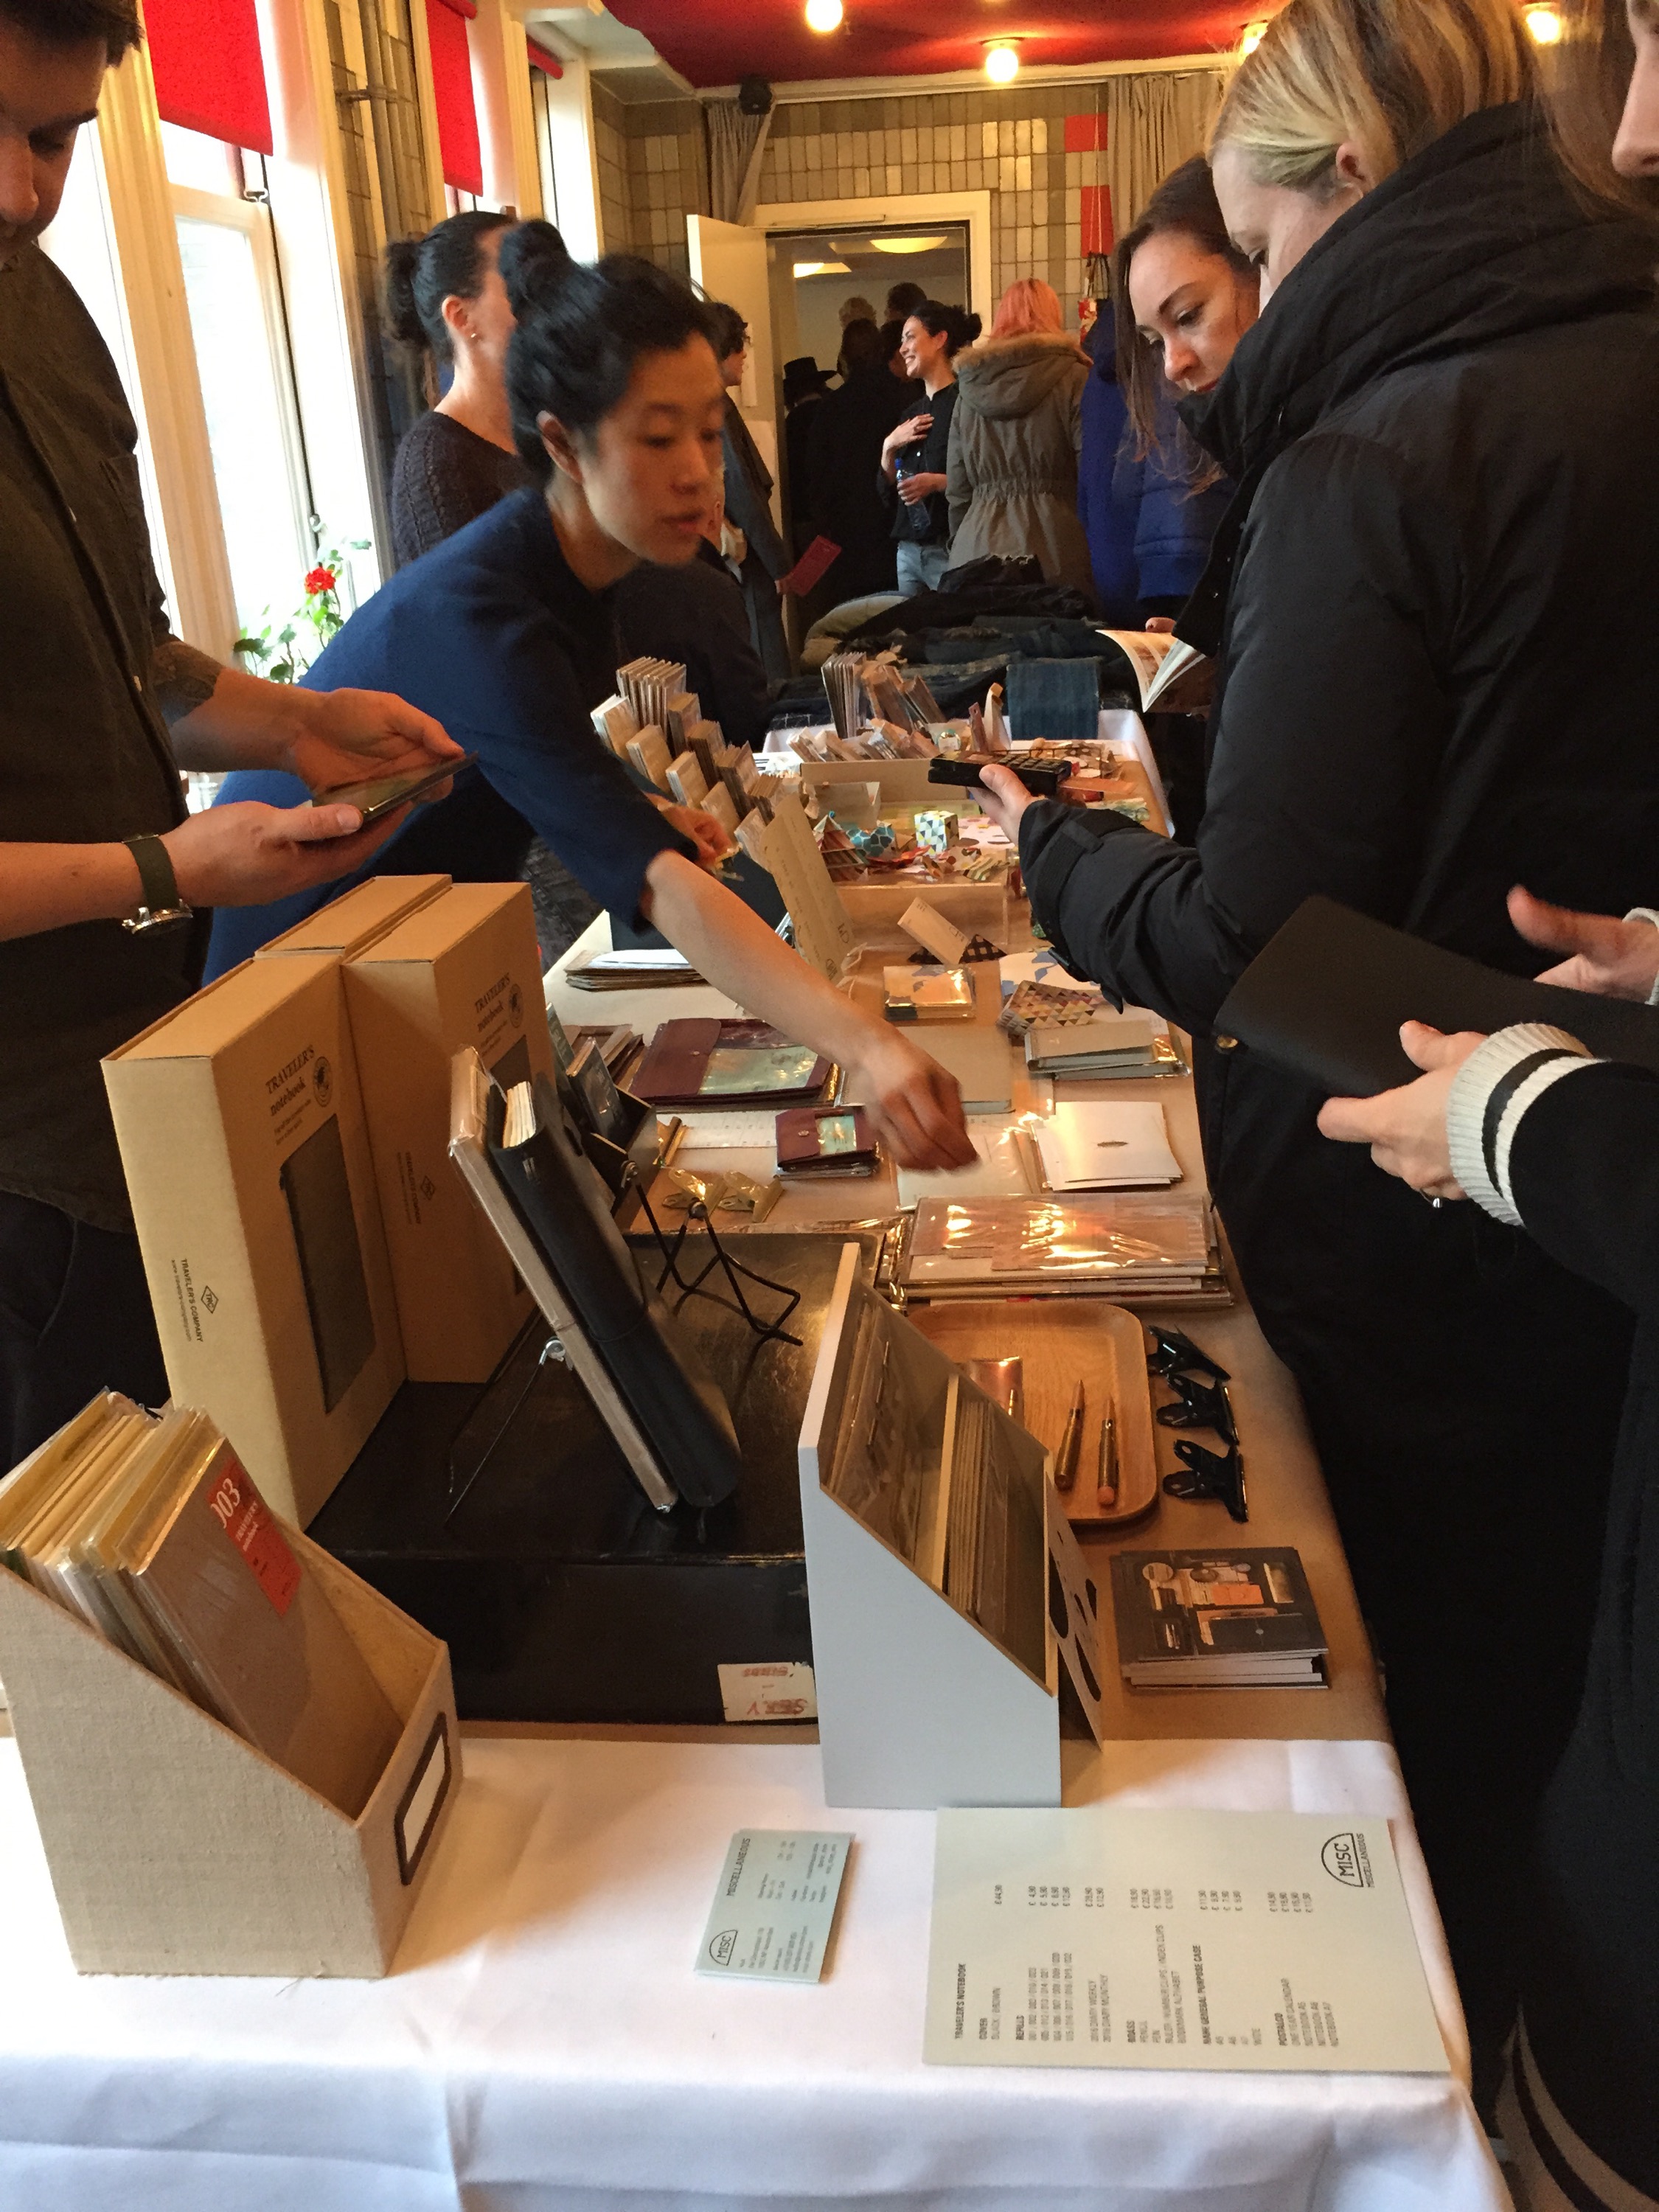
It was the first time that I was at the Lloyd hotel. It was not a fancy new hotel, but a more traditional styled one. The hotel from within has been renovated to modern times, with an open spaced lunchroom and a stairway to multiple plateaus. These plateaus-areas can be used for various occasion, like holding small events or place to retreat to for some reading or doing things on the laptop. This time it was The 3rd Japan Market held at this location. The event was divided into two parts the non-food and the food part. The non-food part was set up in two small rooms on the first floor of the hotel. There were various small booths selling Japanese items or handcrafted works from people who studied under the Japanese art style. Some of the remember-able booths were: The butterflies that are made of ties, The handmade pottery-works following the Japanese style, The modern ‘kawaii’ (cute) handmade stuff made for girls and young-womens. Others are Japanese forged steel scissors and various Japanese arts inspired craft works.


Next up is the plateau area or food area. Multiple food-stands are selling their Japanese cooking-arts or just food. Stands were selling Onigiri, a triangular rice ball with fish or vegetables in it and covert with a ‘nori’ paper (processed seaweed.) green tea stands, sushi-boxes and home made sushi. Sweets stands with matcha-muffins, Doriyaki’s (Doreamon’s favorite), mochi’s and the fish shaped cake Taiyaki. We bought some of those treats and had them for lunch. The Japan Market was nice and may they become a bigger event in the future.


Food Festival Amsterdam

Before we went to the Food Fest at the RAI, we wandered a bit at Central Station and nearby IJ-burg. The thing was that we were still full from the lunch and could use a walk. So we went for a stroll or shop-hopping…. uhm, yeah shopping at the IJ-passage at Central and grabbed something to drink near IJ-burg. At around 5p.m. we hopped into the car and headed over to Amsterdam RAI for the Food Festival.

The RAI, Amsterdam largest event location and a place for holding these kinds of grand happenings. The Food Festival was at it’s last day, it started three days earlier on the 26th of november. The four of us walked to the main entrance and were saluted by the security for a look in our bags. It is supposedly not allowed to bring in any food or drinks. In the voyeur was a DJ-Truck playing loud music too welcome the visitors of the event. On the left was the way to the conference area but it was closed off and was not part of the event. On the right side was the road to the large hall were the Food Festival was held. It was huge place and filled with different kinds of people, foodlovers ‘Foodies’, parents with small children, students, expats and many more. The venue was compiled of foodtrucks, the trucks were laid out in a rectangular encirclement having an outer ring and an inner ring. Between the two rings were tables and benches for the visitors to sit and dine. There were two token-shops, where every visitor had to buy tokens in order to buy the food they wanted to consume. One token was €2,50 and the prices at the stands were mostly around 2-3 tokens. However there were some restaurants stands that offered a whole menu or a 3-dish course. Those were more on the expensive side with 4-9 tokens. Drinks can be bought at drinking booths, one token for the ‘souvenir’ drinking-cup and a minimum of one token for the beverage.

So what did we ate that day? Multiple things. (from left to right)


The BAO-burger or Beef-Pork-Chicken-Shrimp-patty on a bun. It was an Ok burger, but if you were not familiar with a mix of multiple meat types, it might taste a bit odd. Having something like this is not in everyone’s taste so I would not recommended it for try-out outside of home.

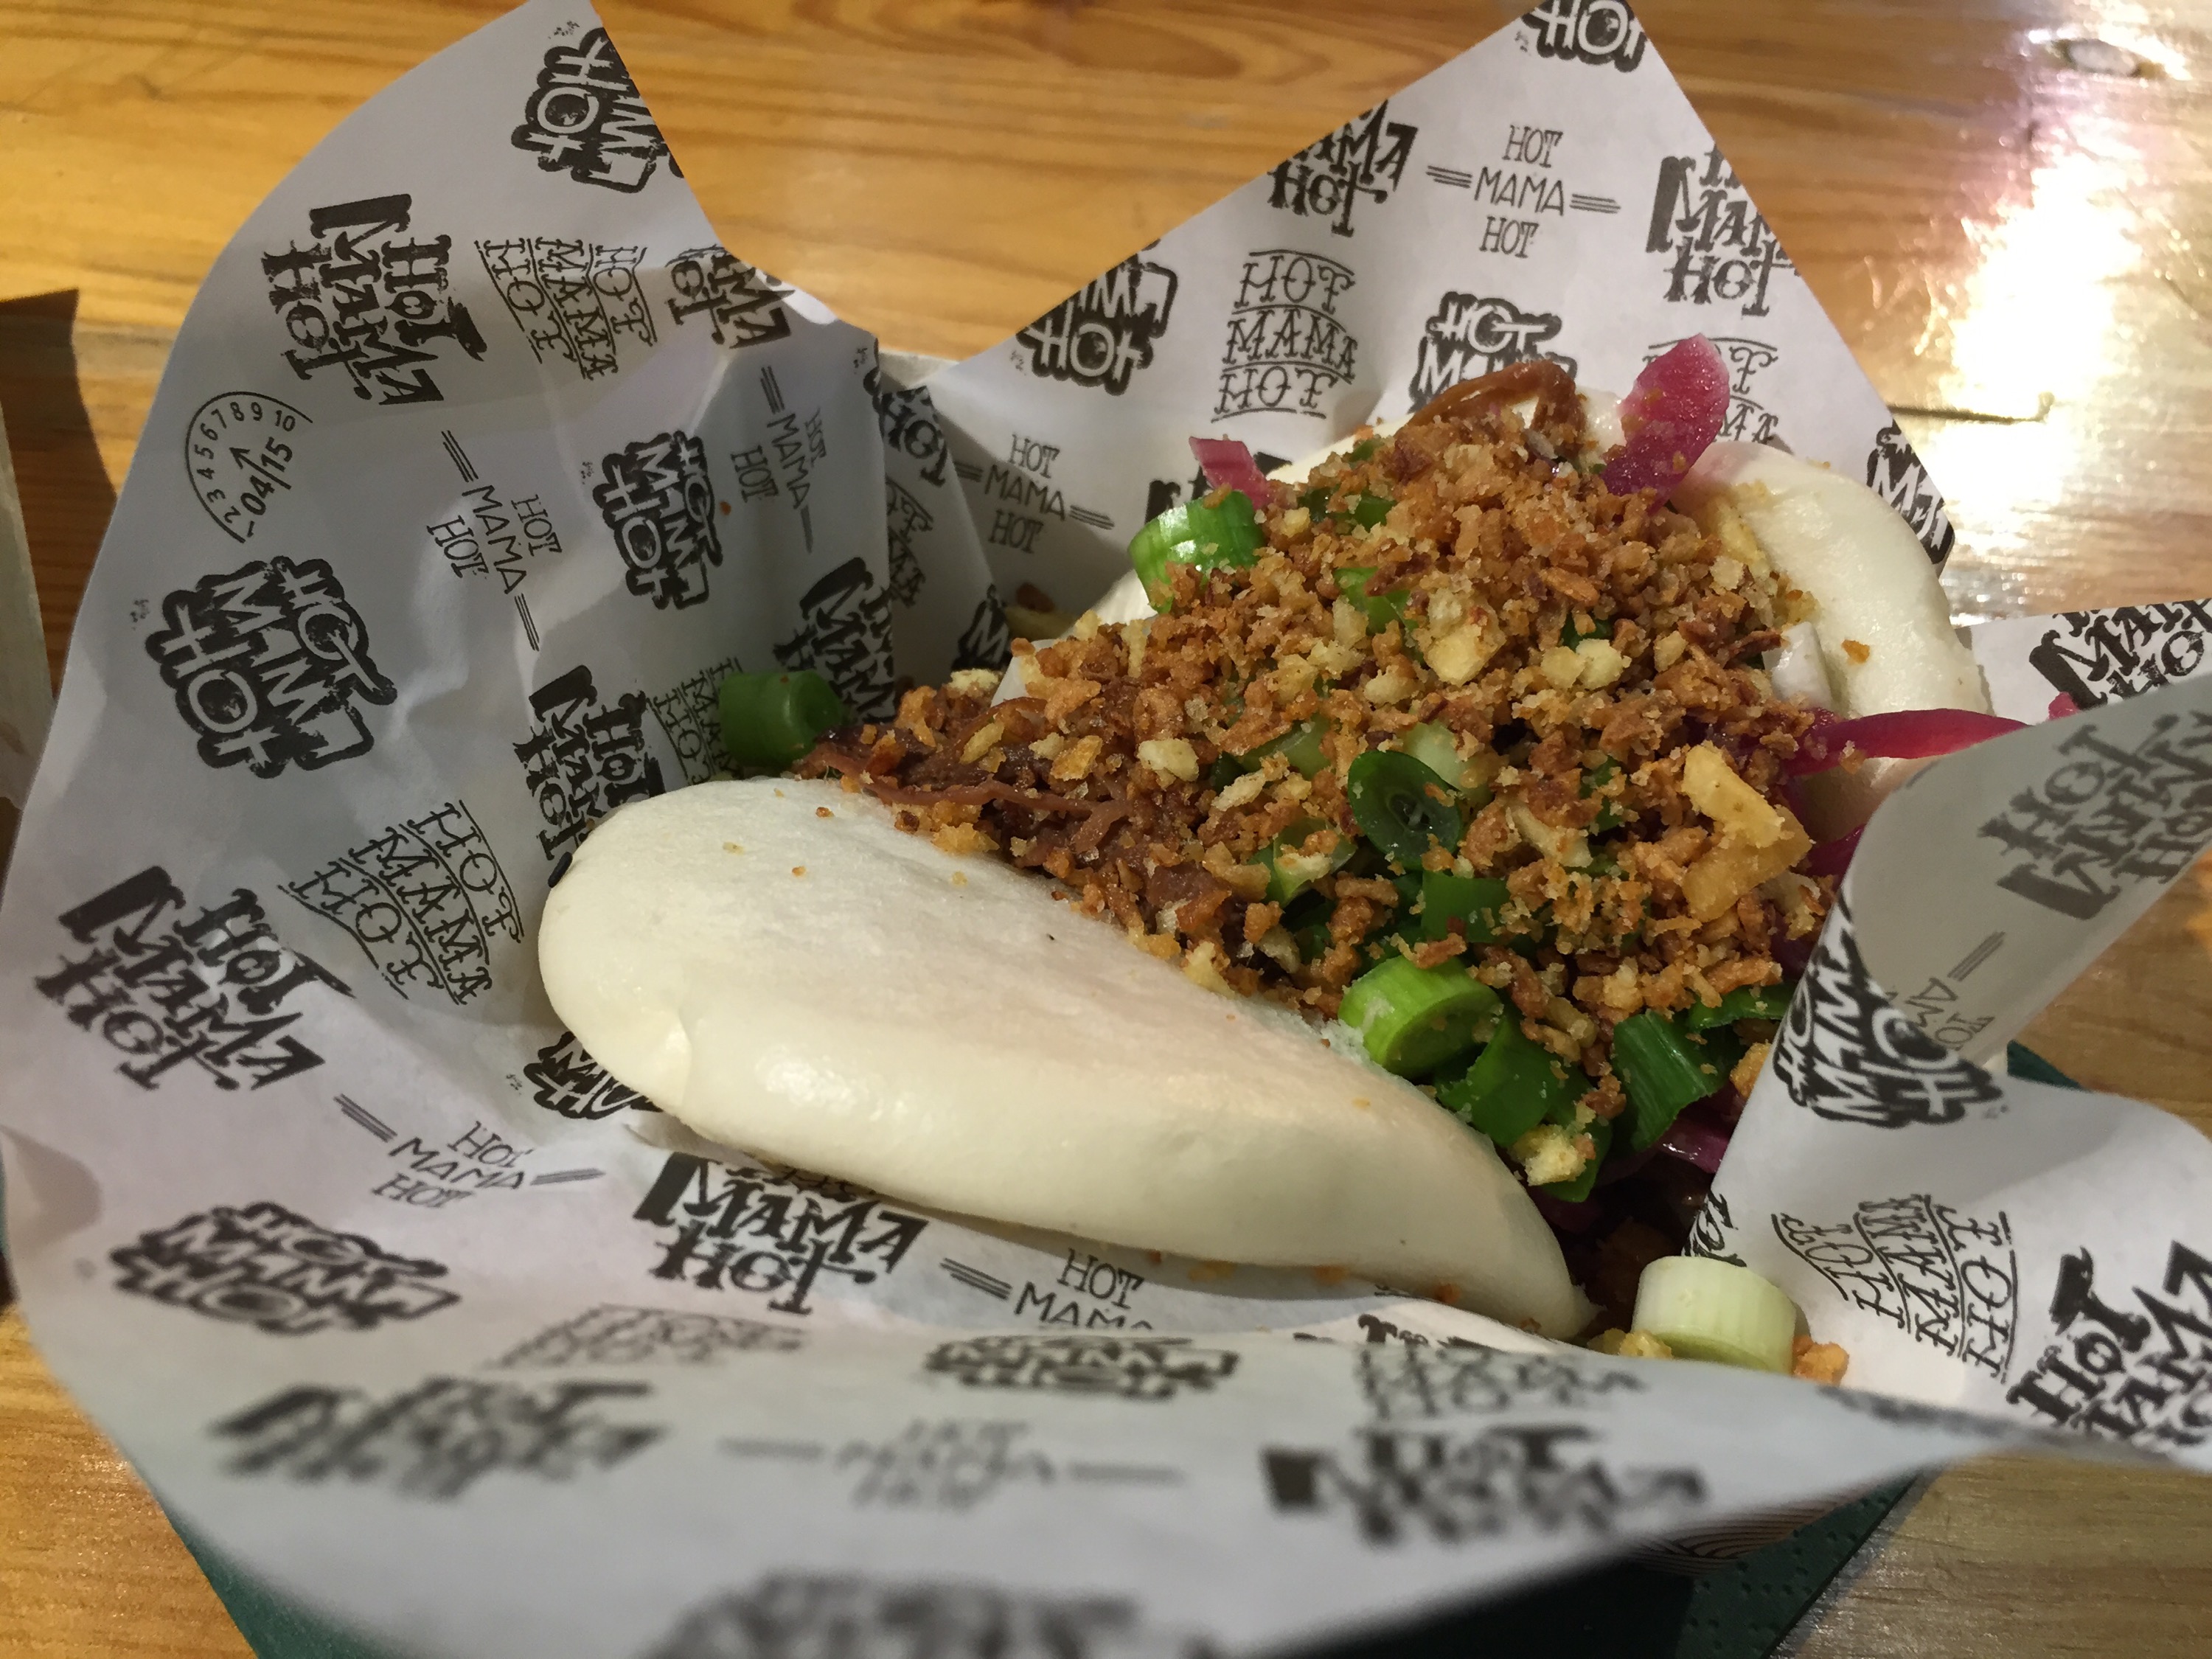
The slow-cooked pulled Pork meat with lots of fried stuff and spring onions on a steamed bun. This is mix of slow-cooked pulled meat and Asiatic soft steamed bun makes it a combination of the modern fusion food. A tasty grub and a change from the regular burger or other fast-food.

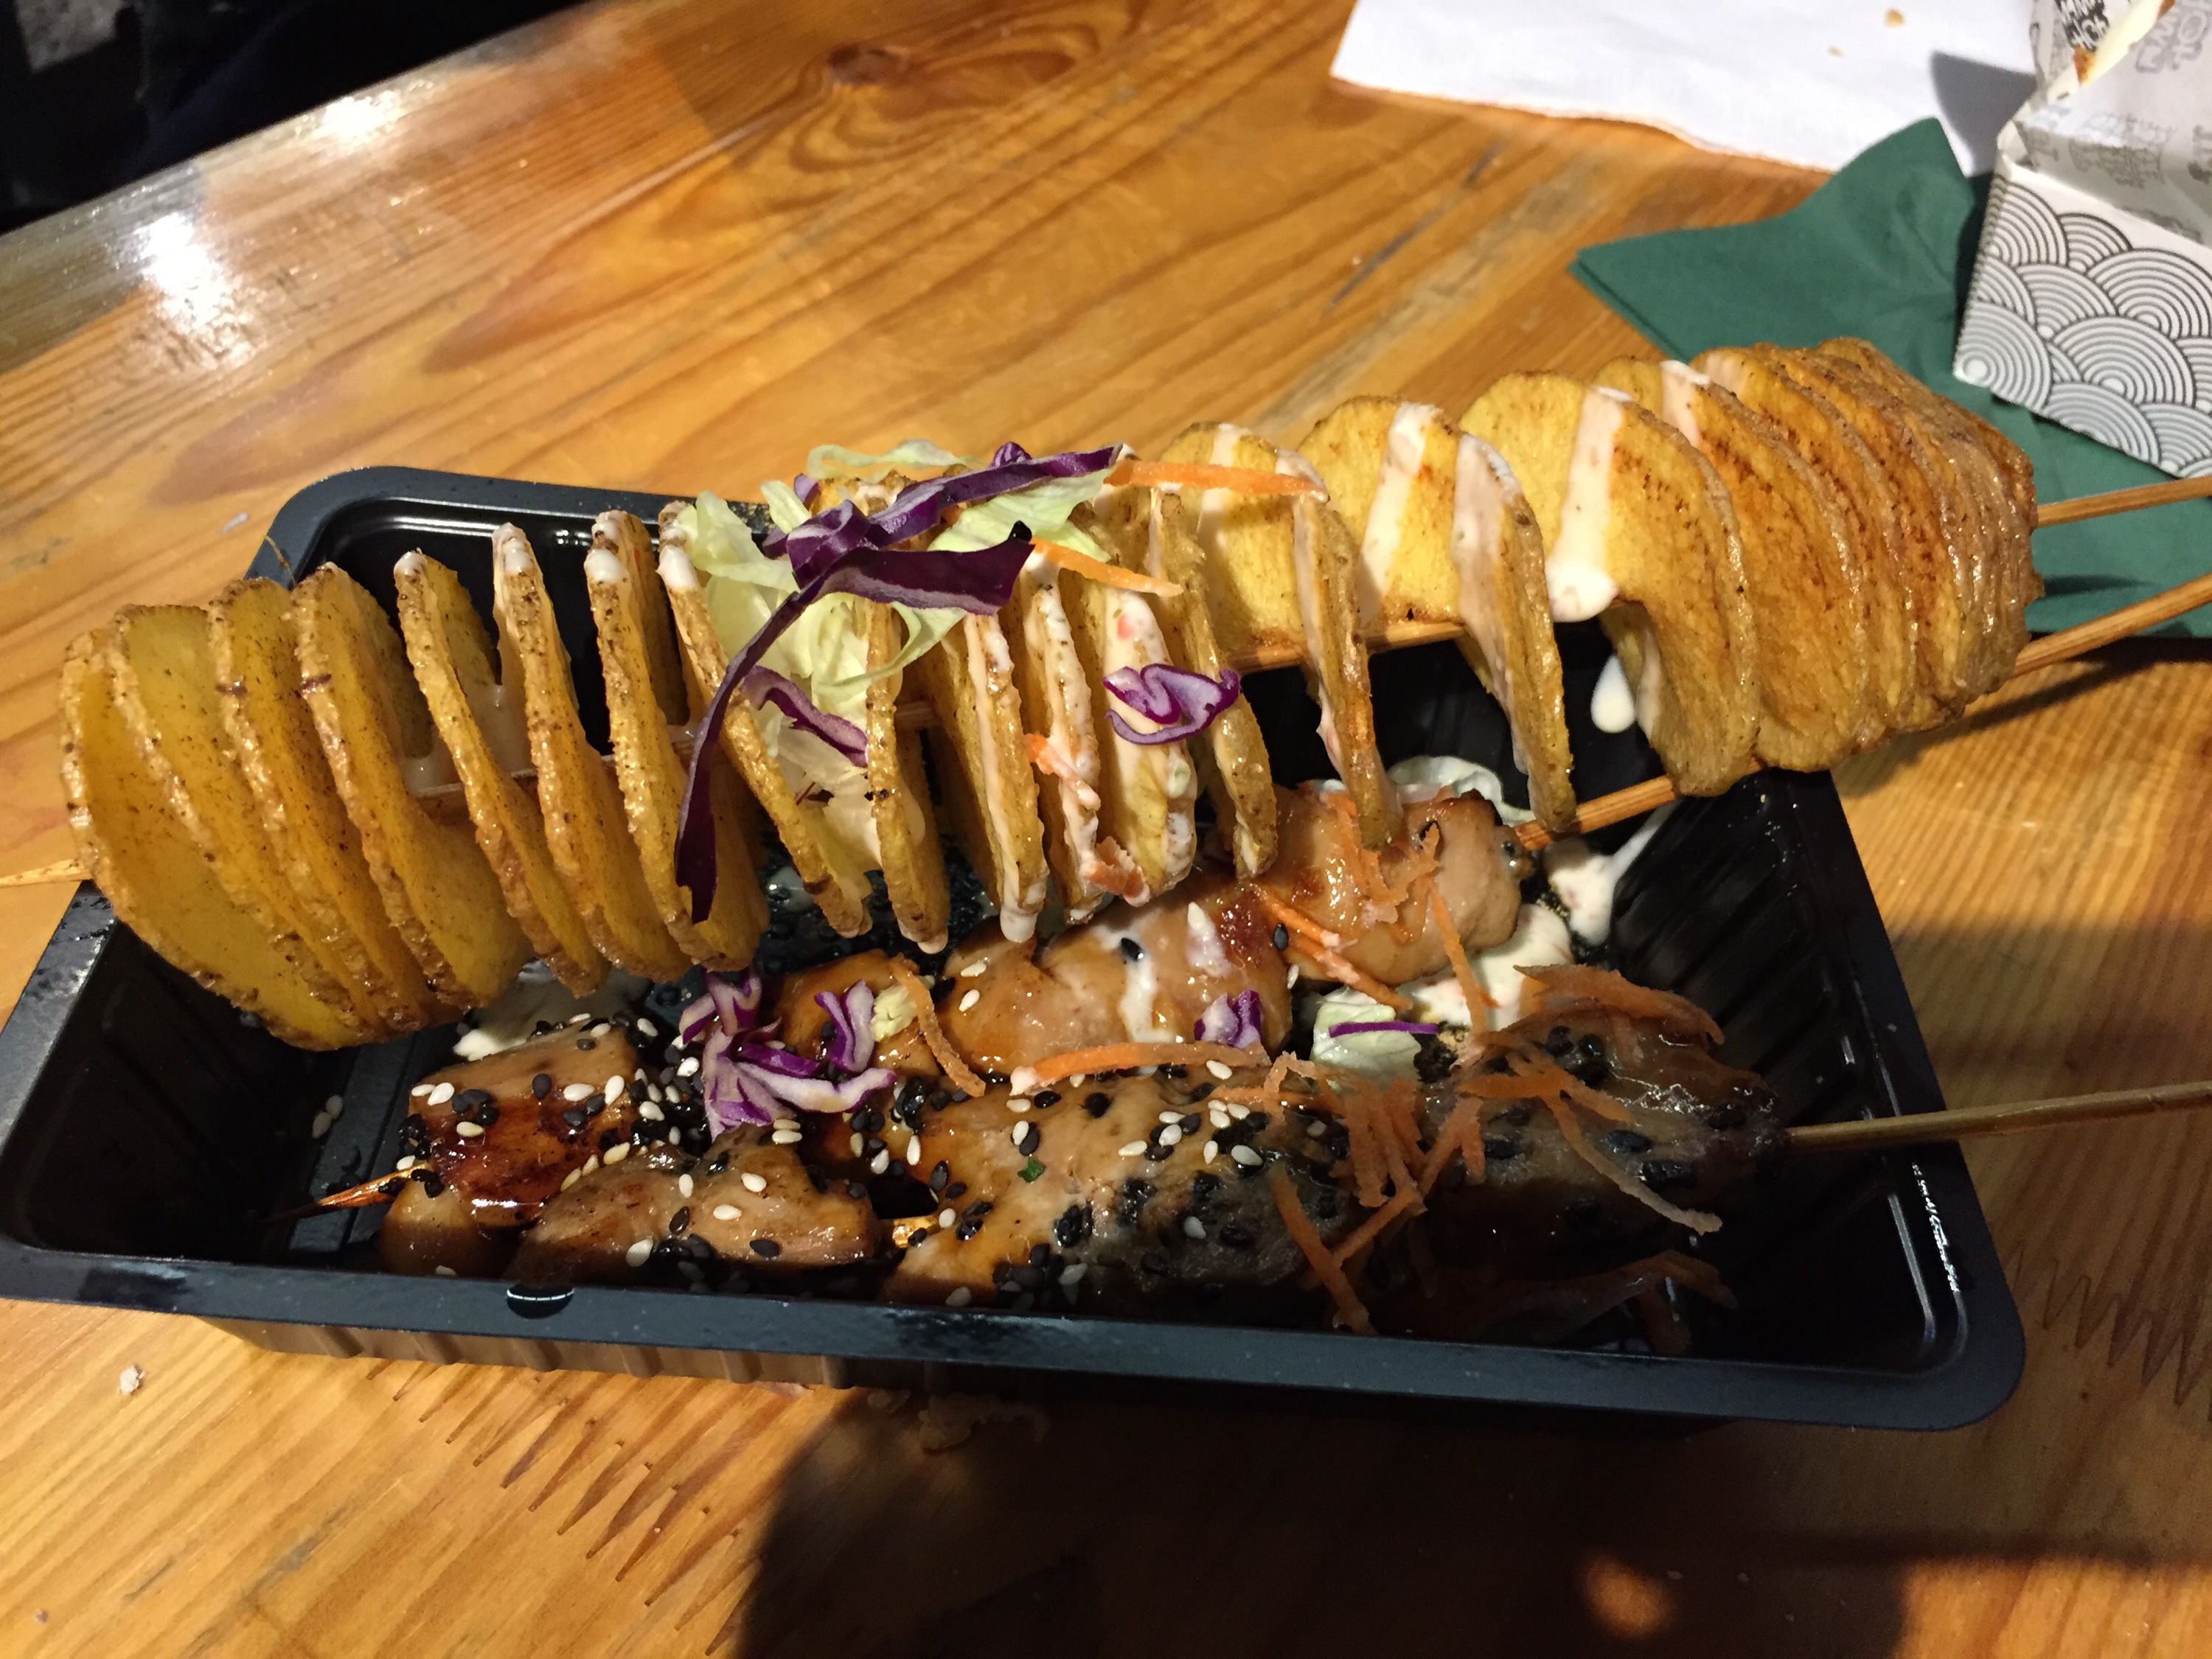
The Potato-twister and chicken skewers. A parties favorite that is looks fun, curled up and twisted on a stick. This fried potato on a stick is easily sharable with family and friends or just have it for yourself.


Fresh young coconut, very simple and yummy to have. Sipping the coconut juice and eating the young coco-meat.

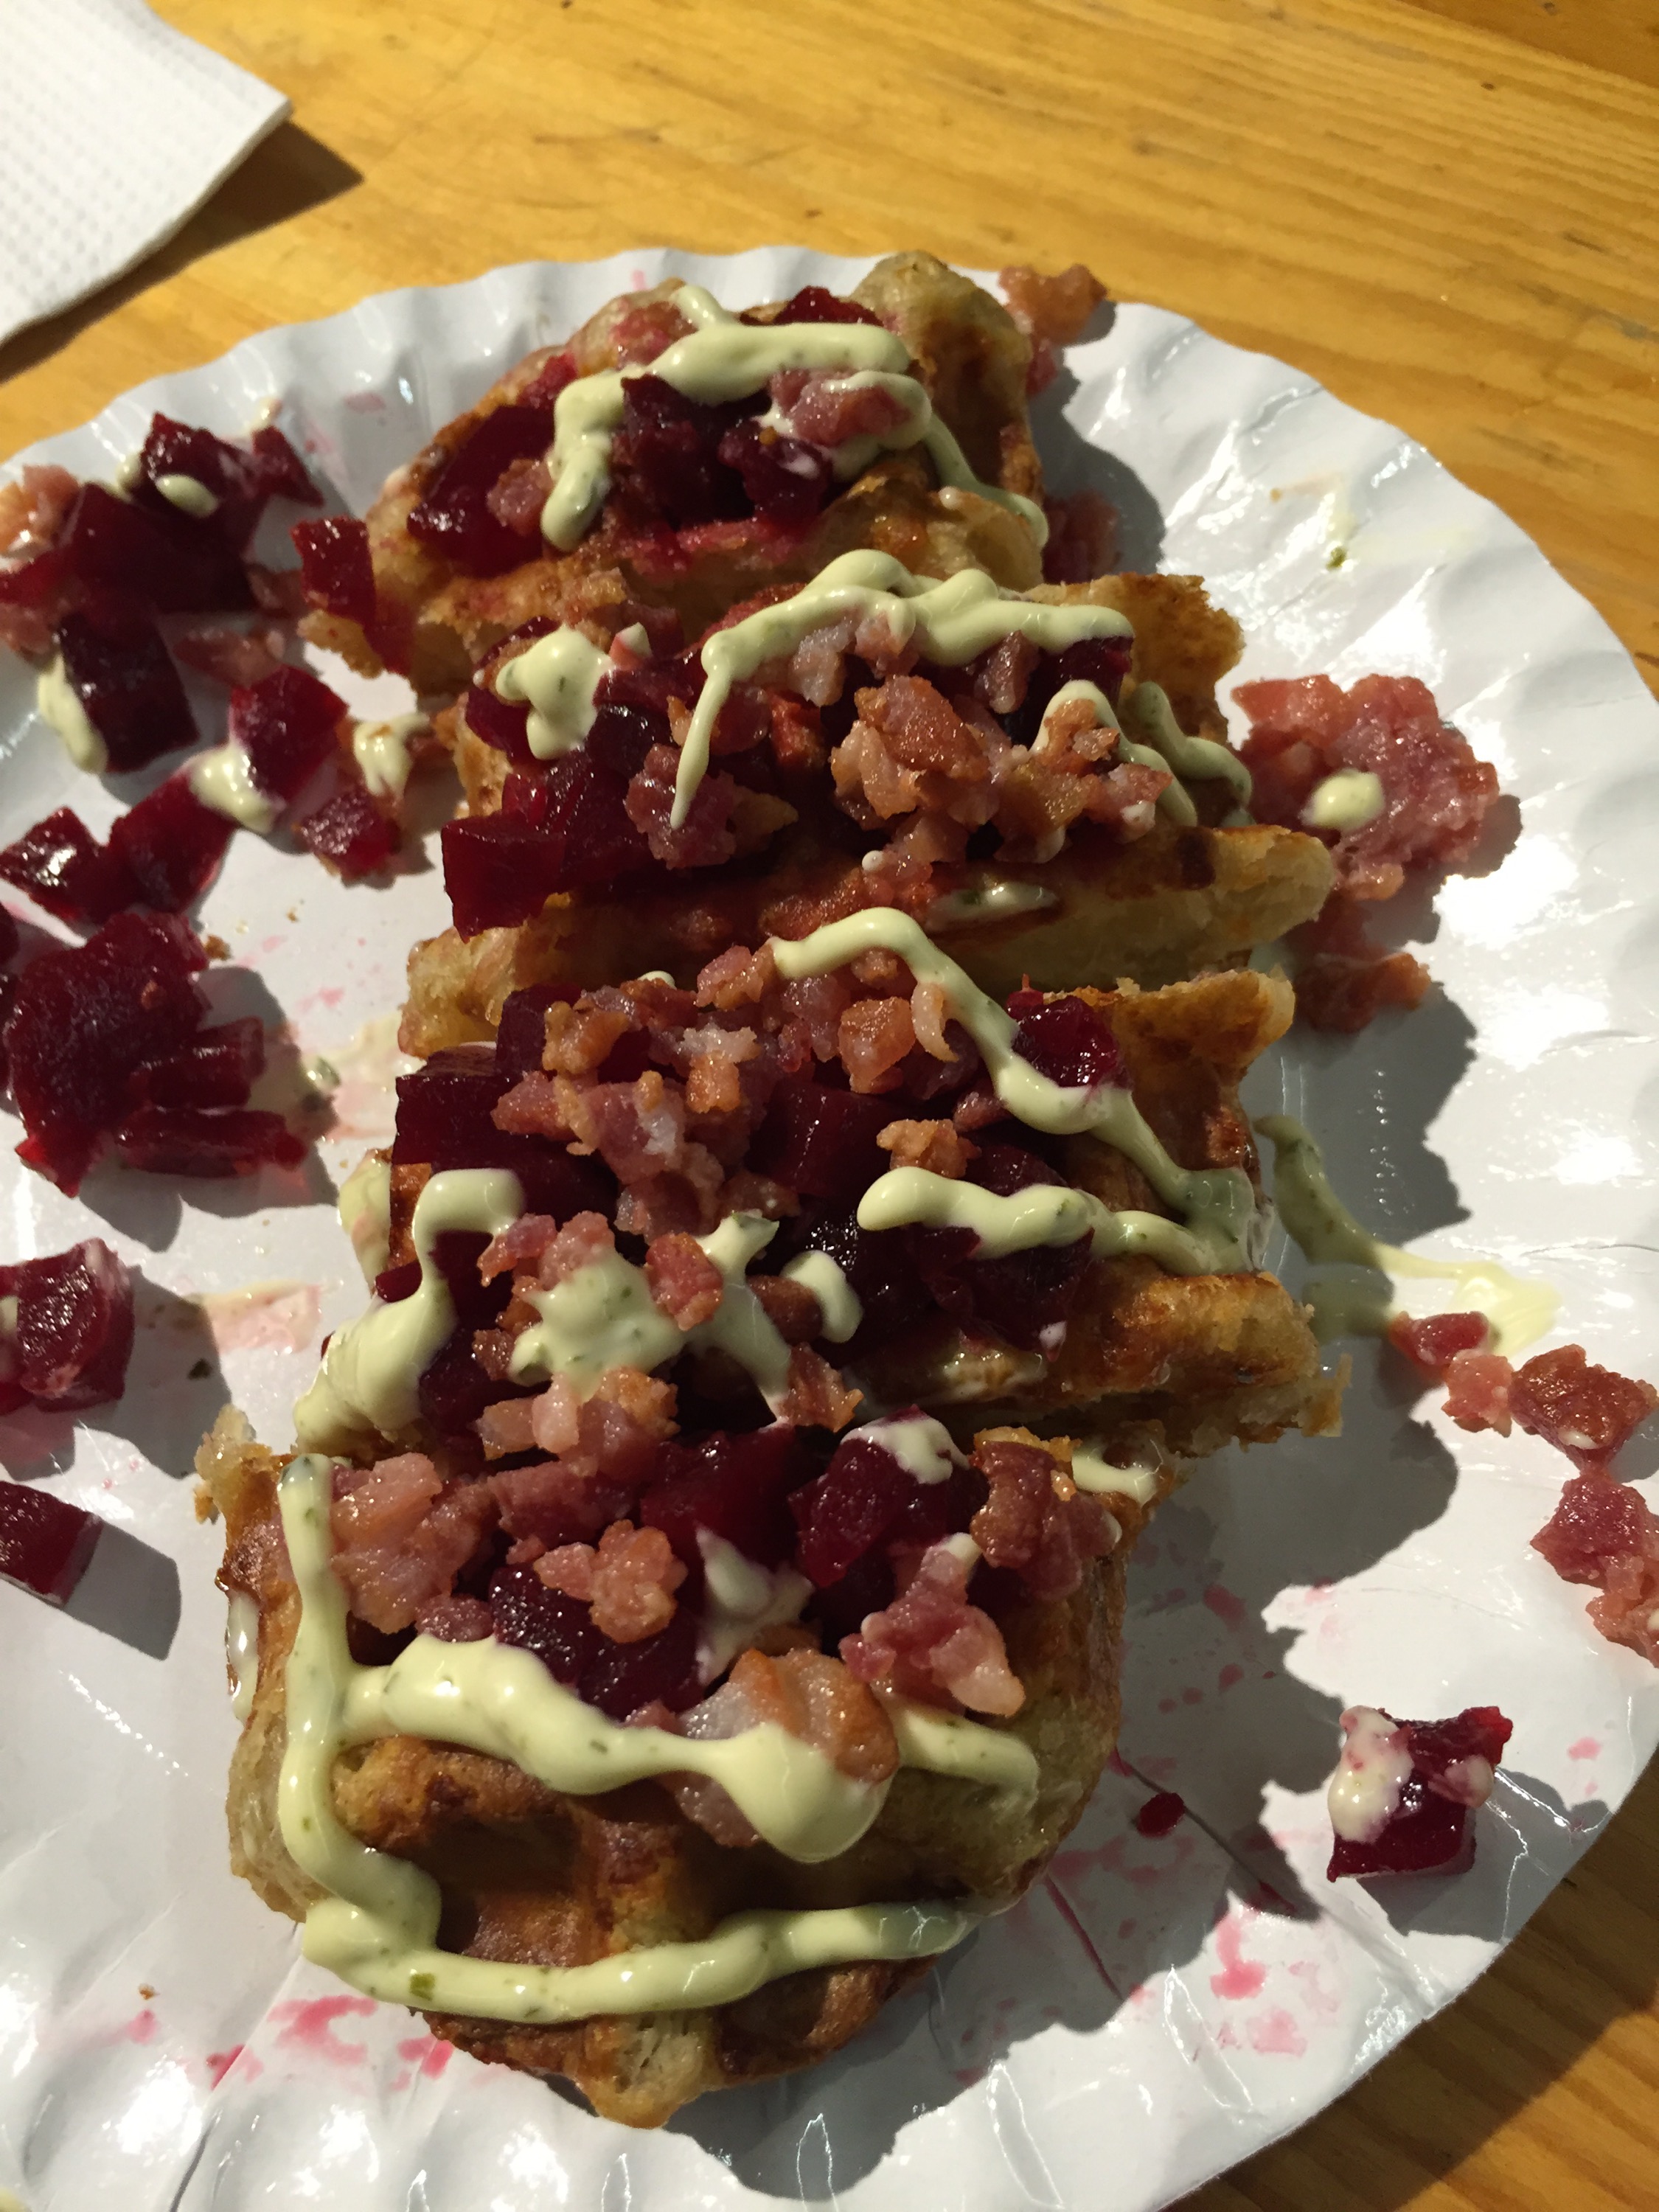
A Savoury waffle with beetroot and bacon. An odd combination, but who does not like bacon. With waffles you mostly think of sweets, but savoury dishes can also be made. Same with pancakes or crèpes, it can be sweet or savoury, definitely worth a try to make some savoury pancake or waffles.

Below are three pics of Saturday, when I also went to the Food Festival. (two days in a row how about that :p)


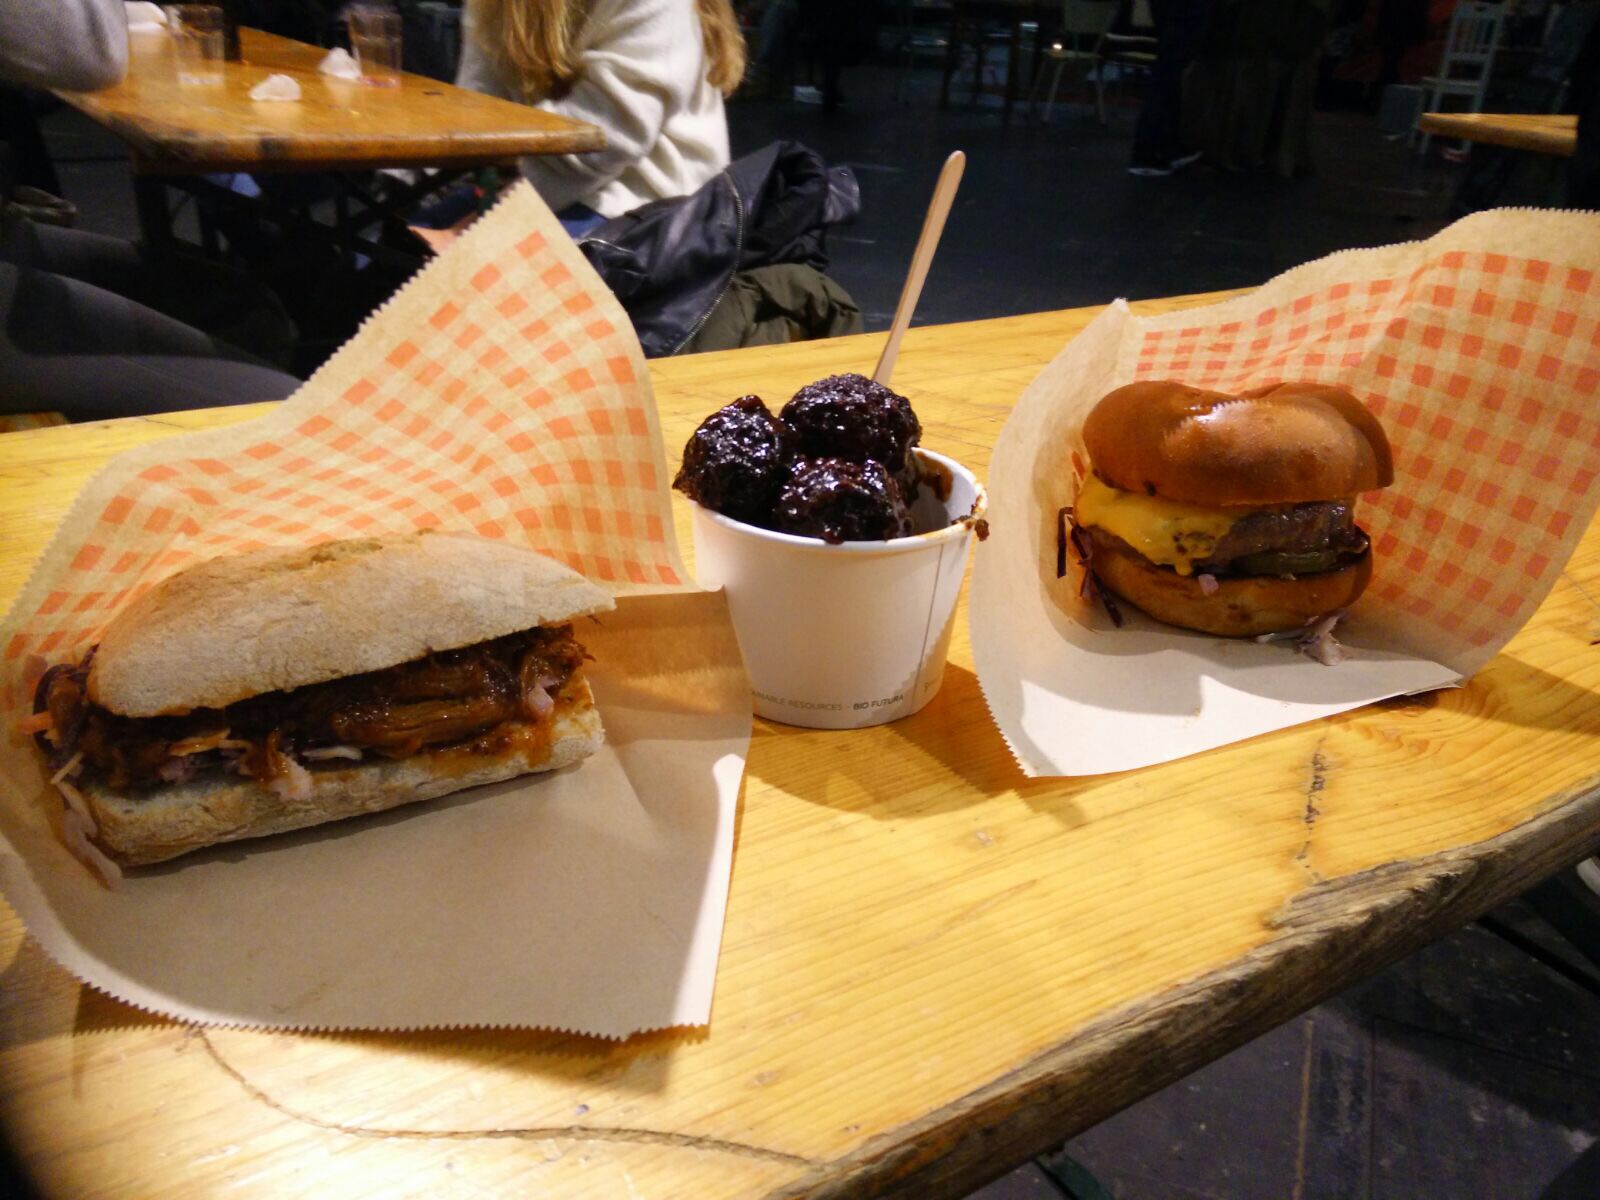
A pulled pork sandwich, followed by a beef meatball and a beef-burger. A meat-lover must-try meal and a lot of ‘punny’ comments to add. Get a taste of these ‘meaty-buns’ and make sure to ‘sandwich’ it while sharing. Have a lick or a bite of the ‘juicy spiced balls’ and make sure to have this threesome of meat.

Some bite-sized fried snacks, good to go with some beer or drinks. It was seafood flavour, but a meat version was also possible.

Orange Punch and Green Power Smoothies to boost your daily fruit and veggies needs.


That’s all folks, it was a day of treats for the eyes and stomach. For the next time I try to post it more on time, cause now it is way after some time. Nevertheless up to the next Food experience! I hope you like it and Keep Experimenting!

Where is the Holiday Spirit? Here, near Deez Nutz!

I don’t like this time of the year especially in the Netherlands. The thing is that around this time in the Low-lands it is cold, windy and very wet; the days are short, getting up and going to work when it is dark, leaving work and getting back home in the same darkness. It is as if everything is telling me to hibernate and skip this time of the year. It really sucks to go outside, the grey-and-sad-looking sky, crying it’s many tears down on to the planes of our small, small ‘Kikkerlandje’ (A Dutch saying).

However it is also the end of the year with it’s Festive holidays and Joyable gatherings. The many birthdays of my family in these months, the Oh-so-critisized Traditional Childrens-holiday of ‘SinterKlaas’, The Commercially known holiday of the birth of Christ ‘Christmas’ and the End of the Year celebration of ‘Oud en Nieuw’ on the day of switching to 2016.

It is the time to spend some time with family and friends and I am blessed with them being in my life. So to have some ‘Yummie in the Tummy’ I present a triple recipe in one with some seasonal ingredients of autumn and winter. Prepare yourself Winter is coming!


Muffin-sized cakes: for 6 cups
Apple-Cinnamon-Pecan
Matcha-White Chocolate-Macadamia
Chocolate-Cream Cheese-Oreo-Hazelnut

Ingredients:

Apple-Cinnamon-Pecan
150 grams of Flour
80 grams of Sugar
100 grams of Butter
20 grams of Cornstarch
8 grams of Baking Soda
10 grams of Cinnamon
80 mL of Milk
50 grams of Pecan nuts
2 Large-sized Eggs
1 Apple
1 tablespoon of lemon juice

Matcha-White Chocolate-Macadamia
120 grams of Flour
80 grams of Sugar
100 grams of Butter
20 grams of Cornstarch
8 grams of Baking Soda
15 grams of Matcha (green tea powder)
80 mL of Milk
50 grams of Macadamia nuts
2 Large-sized Eggs
100 grams of White Chocolate

Chocolate-Cream Cheese-Oreo-Hazelnut
120 grams of Flour
80 grams of Sugar
100 grams of Cream-cheese butter
20 grams of Cornstarch
8 grams of Baking Soda
50 grams Cocoa-powder
80 mL of Milk
50 grams of Hazelnut
2 Large-sized Eggs
50 grams of Oreo-cookies


The Easy way of making these Cakes.

Have every ingredients out on the cooking table and have the butter and cream-cheese butter at room temperature. Measure the ingredients and set them aside. Peel the apple and chop it up into small cubical pieces, add lemon to it to prevent browning. Chop the chocolates, oreos and the various nuts and put them separately into small bowls for later. Pre-heat the oven at 180-190 degrees Celsius.

First up, take a mixing bowl and put in the butter. Use a hand-mixer to mix the butter to a soft and creamy substance. Add the sugar, milk and eggs and mix it again. The mix should be clear of lumps and mixed well. Next step is to add in the powders. Use a sieve and add all the powders: flour, cornstarch, baking soda and the recipe’s powder (cinnamon, matcha or cocoa-powder.) Sieve in the powders to prevent forming of lumps and mix it all with the handmixer. A thick batter-like substance should be seen. Final step is to add in the apple and pecan-nuts (or the white chocolate and macadamia-nuts, the oreo-cookies and hazel-nuts.) Use a spatula to mix in the Last ingredients.

When it is mixed in, lay out the cups and pour in the cake-mix. Put the cups with the mix in the oven for 25-30 min. Check up on the cakes at 25min with sate-skewer and depending on the mix type it can be done or need a little bit more time. (When you poke the skewer down to the bottom of the cup and pull it out; the skewer should be clear or a little bit oily. If it is otherwise, it isn’t done yet.)

The Long way of making these Cakes

I did not have the time to use this method, because it was already late at night and I did not wanted to disturb my house-mates with the hand-mixer noise. It would have made a more lighter and fluffier cake.

Measure the ingredients and prepare it like the first part above. (peeling and chopping.)

Next would be melt the butter in a pan to have melted butter. Separate the egg yolk and the egg white.

The egg-white would be hand-mixed to soft peak, then sugar would be added and mixed further to stiff-peak (meringue.) In another bowl are the melted butter, milk and the egg-yolks mixed together. When both bowls are ready, I would use a spatula to scoop up some of the meringue and gently fold it into the butter-milk-and-yolk-mix. Continue until all of the meringue are folded into the mix. Next part would be to add the powders gradually with a sieve and fold it in as well. It have to be added gradually or else all the work to add air into the mix will be done for nothing. Finally, add the last ingredients such as apples and pecan nuts and fold it all again. The added air and folding technique will make the Cake-mix more airy and gives it more of a rise in the oven. Because of the rise of cake, it is best to fill the cups half-full otherwise it might droop out of the container/cup.

Put the cups with mix in the oven for 20-30 min at 180-190 degrees Celsius and check up on it at 20min timer to see if it is ready or it need more time to bake.

I will have to try the Long-method in order to see the results for myself. But for now have fun trying, Like, Share and Keep Experimenting!

Noodlesoup? Won Ton and Sui Kau noodlesoup, homemade style!

Damn, Still neglecting my blog posts and recipe’s…
To be honest I have been lazy.. to do the work.
I’ll try to keep it up and post on the days that I spoke off.

This week (last week) is the Chinese Noodle soup with homemade Won Ton and Sui Kau. Won Ton noodle-soup or the Sui Kau noodle-soup are one of the Cantonese staples of lunch items. It is a nice hot broth soup with noodles, some veggies and meat(or shrimp) dumplings. The dish got everything that you need Fat, Carbs and Proteins (maybe even vitamins), what more do you want? Joking aside, it is a noodle dish that warms you up and gets you through the day of “hard” work.

Ingredients:

Won Ton
250 grams of Pork Belly or Bacon
250 grams of Peeled Raw Shrimps
1 pack of Won Ton Pastry
1 Spring onion (other recipes have Shii-take mushroom)
Salt
Black Pepper
Sesame Oil
Soy sauce

Sui Kau
500 grams of Peeled Raw Shrimps
(some recipes has bamboo shoots)
1 pack of Won Ton Pastry
Salt
Black Pepper
Sesame Oil
Soy sauce

Noodle soup
1 pack of Egg noodles or Won Ton noodles
100 grams of Chinese Cabbage
4-5 Won Tons
4-5 Sui Kau’s
A few drops of Sesame oil
Some flavoured broth or stock (powdered or fresh)

 IMG_3769-0

Making the Dishes:

Won Ton:
Rinse the spring onion with some water and chop it into fine bits and put it aside for later. Put 250 grams of Raw peeled Shrimps on a chopping board and bash the shrimps with the back of a chopping knife (or a kitchen mallet/hammer.) Fold the the flatten shrimps bash them again until it turns into a paste-like-substance. Do the same with the Pork belly/bacon. (if it is to time consuming, use a food-processor/mixer to mix/grind it into paste-like-structure.) After having the pork and the shrimp made into paste-like-substance, mix it all in a big bowl with the spring onion and season the mix with salt, pepper, sesame oil and a splash of soy-sauce. Use your clean hands or a spoon to mix it all up. Cover the bowl of won-ton-mix and refrigerate it for one hour in order to let the seasoning takes it effect.

After refrigerating the won-ton-mix for an hour take it out and get ready to fold the Won Tons. Take the pack of Won Ton pastry and the won-ton-mix. Grab a spoon to scoop up the won-ton-mix with one hand and put one piece of Won Ton pastry on the other hand. Put the won-ton-mix on the pastry and fold it semi-diagonal and seal the pastry around the mixture in a ripple/zigzag way.

Sui Kau:
Making Sui Kau is somewhat the same as making Won Ton. The difference is a shrimp paste mixture instead of pork/shrimp paste mixture. After refrigerating the Sui-Kau-mix fold it in the same way as the Won Tons.

Once you made a bunch, it can be boxed and frozen for whenever you like to cook up Won Ton or Sui Kau.


Noodle soup:

First set up two pans one a big pan and one smaller pan. The big pan is used to cook the ingredients to nearly done. The smaller pan is used to add the flavour of the broth or stock to the Noodle soup.
Pour enough water into the pan, so that they are half filled. Heat up the pans with water and let them boil. *(I used powdered instead of fresh broth, so that is why the small pan is also filled with water.)

Take the Chinese cabbage and chop an enough amount for use. (A whole cabbage can serve about 5-6 noodle soups.) Take the chopped off cabbage and wash it with water, after cleaning, put the cabbages into the boiling big pan and boil the cabbages till they are done. When the cabbages are cooked or done, take them out of the pan and set them aside.

Next are the Won Tons and Sui Kau’s. A total of 8-10 pieces is enough for one bowl of noodle-soup. The same as the Chinese cabbage boil it in the large pan. It takes around 5-10min until the Won Tons and Sui Kau’s are done. Normally you will see them float on the water when they are done cooking. When it is ready scoop them up and set them aside.

Get a noodle bowl and drop some sesame oil in it, then add the cabbages in the bowl. set it aside for now.

Take the Egg noodle (per portion) and cook it in the large pan for 1-2 min. So that it is just undercooked. (This is done to boil off the excessive flour or fat on the noodle)

Put in the powdered stock or broth into the smaller pan with the boiling water (Self made or fresh stock/broth can be used, but the smaller pan shouldn’t be filled with water beforehand.) Add the Cooked Won Tons and Sui Kau in the small pan. This is to warm them up and give them some more flavour. Next is to add the undercooked noodles to the smaller pan and cook it all to well done. When everything in the small pan is ready, pour it into the bowl with the cabbage. The bowl should be filled with cabbage at the bottom with noodles and the dumplings on top. The result will look like the picture on the front of this post.

Have fun trying it out! Like, share and Keep experimenting.

Diner for one from bits of leftovers!

Everybody should know that it is rather hard to cook for one. Most of the time you have more ingredients to cook with or you make too much for one. That’s why at times you make a lot and have to eat it two days in a row. At other times you still have some leftover products, these leftovers can be used with creativity to create tasty and waste-less food. It is a way of trying new things out. Experimenting on new dishes that can be improved at a second attempt.

As for this recipe an easy-peasy ‘Filled bell pepper and potatoes for one.’

Ingrediënts:
1 red bell pepper
1 small onion
150grams of minced meat
4 small/medium sized potatoes
pepper and salt for seasoning

Wash the potatoes first, peel it with a knife or peeler and cut them afterwards into small cubes. Peel the onion and cut it into rings or half rings. (whatever the way you like it.) Rinse the bell pepper and roast it on an open flame. (the gas pit can be used as a source) Roast the bell pepper until it is firm and soft. Often the skin of the pepper will turn char black and hot to pick up. Then cut the top off and remove the seeds and other unedible parts of the pepper.

Heat up two frying-pans, one for the meat and one for the potatoes. In both pans add a tiny bit of oil. The first pan add the onion first to glaze them well and afterwards add the minced meat. Season the meat with some pepper and salt to your tasting and let it heat up in the pan while occasionally stirring. When done fill the sliced open Bell pepper with meat. In the second pan just fry the potatoes until they are golden brown and well done. (If you want it to be less fried just cover the pan with a lid and it will steam-fry/boil the potatoes. When everything is done plate it and serve.

I hope you like it. Like, share and keep Experimenting!

Eggsactly a breakfast item of bacon and eggs!

The deliciousness of Eggs Benedict.

A breakfast item for after a long night’s out or for a hangover. It taste great, coz of the runny egg yolk, the salty but fatty bacon, the soft & toasty English muffin, and topping it all of with some hollandaise sauce.

It is even nice just as a breakfast item.

So here is what you need for my variant.

Ingredients:
2 egg yolks
2 whole eggs
2-4 slices of bacon
1-2 slices of cheddar cheese
1/4 of a lemon
1-2 slices of bread
vinegar

Toast the bread with a toaster or on a pan. Cook the bacon on a pan until it is a bit crispy brown. When both things are done put it aside.

Hollandaise sauce; Boil a pan with water on the stove. Separate two egg yolks and put it into a bowl. Squeeze out the lemon onto the yolks and put the whole bowl on top of the pan with water. (au bain-marie style) Now stir the egg yolk and the acidic lemon juice until you get a nice sauce like consistency. It might take some tries to get it perfect. If the bowl gets too hot, you get scrambled eggs and if it is not hot enough you get raw egg yolk. Also stirring too hard/long the sauce will split and if not enough it will be runny. When it is done put the pan and the bowl aside on low heat for keeping it warm.

Poached eggs; Boil a pan with water add some vinegar to it. Take a mug and crack an egg into it. Spin the boiled water in the pan with something you can stir it with. While the water is spinning lower the mug with the egg into the pan. This will create a roundish/oval poached egg. Use a small sieve to spoon up the excessive egg whites. I takes about 2-3 minutes to have poached egg, firm on the outside and runny yolk on the inside. When ready let it dry off the excessive water on some kitchen paper.

Assemble time: (from bottom to top)
Toasted bread
Slice of cheddar cheese
Crispy bacon slices
Poached egg
A layer of Hollandaise sauce.

Don’t take too long to make it, coz it the best when it is still warm.

Like, share and keep experimenting!

Chickenwings: Double flavour, in triple ways!?!

Chicken-wings a snack-food at various occasions. At the BBQ with grilled meat, or when sharing pizza’s with friends, even when getting fast food like fried chicken.

There was a video on Vice.com about paleo method of cooking and I saw chicken and herbs used. It looked interesting and I like to experiment with cooking.  I also enjoy crunchy fried chicken-wings, thus thats why I tried something new.  So here are my ways of chicken-wings done in three ways.

Spicy crusted Chicken-wings:

Ingredients:
400-500 grams or 8-10 pieces of Chicken-wings
10 ml of Sesame oil (optional)
5 grams of Salt
5 grams of Black pepper
10 grams of Chili powder
12 grams of Paprika powder
20-30 grams of Bread-crumbs

Preparation:
Rinse the chicken-wings with water and put it in a bowl. Add the sesame oil, salt, black pepper and 2-3 grams of chili powder as well as 2-3 grams of paprika powder. Use a spoon or your clean hands to marinate the spices onto the chicken-wings. When done leave it to rest for 30 min in the refrigerator for the flavour to soak in.

Next get a plate or a container and pour the bread-crumbs, 10 grams of paprika powder and 8 grams of chili powder. (Add chili powder with caution, cause the spiciness depends on the amount of chili you add.) Mix the powders and the bread-crumbs together for a red-orange-yellowy crust-mix.

After 30 min of flavouring, get the chicken-wings out of the fridge and dip the wings one for one or a few at a time in the crust-mix. Cover the wings fully and put it aside on a plate.

Green herbed Chicken-wings:

Ingredients:
400-500 grams of 8-10 pieces of Chicken-wings
20 grams of Celery (herb)
20 grams of Leaf parsley
20 grams of Spring onion**
5-10 ml of Olive oil
Handful of nuts (used pine nuts*)

*(Because I had some of it left over. Other kinds of nuts could be: Pistachio, Walnut, Peanuts, Cashew or whatever you like)
(**Only the green parts of the spring onion were used).

Preparation:
Wash the herbs: celery, leaf parsley and spring onion. Also rinse the chicken-wings with water. Get a food-blender and cut the herbs into pieces for blending. Put the herbs into the blender as well as the olive oil and a handful of nuts. Blend the herb-mixture into small pieces in a way that is not to chunky or to pasty looking.

Use a spoon to scrape of the herb-mix into a bowl and add the chicken-wings in it to marinate. Like above use a spoon or your clean hands to marinate the herb-mix onto the chicken-wings and let it soak in the fridge for 30min. Take it out when you are ready to cook it.

IMG_2922

As stated in the title chicken-wings in three ways, I made these chicken-wings in just one way. However after tasting the wings, I have thought up and considered two other ways of making it more tasty. So for each chicken-wing recipe are two ways to cook it.

The baking method: (spicy crusted wings and green herbed wings)
Preheat the oven at 160 degree Celsius. Put the chicken-wings after preparation on a grilled like tray for the oven. When the oven is heated and ready, put the tray with the chicken-wings in the oven and let it bake for 30 min. When it is done, serve it hot. (Make or add some dipping sauce for the wings. For the green herbed wings, I made some honey-lime dip for some bit of sweetness. As for the spicy crusted wings, I would have liked garlic sauce.)

The BBQ or grilling method: (green herbed wings)
Make these green herbed wings for a barbecue and if you want to make it at home use a grill pan. Heat up a grill pan on the stove and put the prepared chicken-wings on the pan when the pan is heated. Grill the green herbed wings on the pan and turn the wings a few times over. I takes about roughly 10-15 minutes or until the wings are golden brown/ yellowy brown. Serve, when done with or without sauce.
(For the BBQ, I would mix a little honey-water and brush it onto the wings when it is nearly done.)

The frying method: (spicy crusted wings)
Caution: While frying food it can be dangerous, the oils are very hot.

Use a fryer or pan with oil. Boil the oil to 170-180 degree Celsius. When the oil is heated, gently add a few chicken-wings into the hot oil. Let the wings fry until the crust becomes firm and golden brown. It takes about 4-6 minutes to cook the wings throughly. After the first batch of wings is done, take them out and let it drip out the oil on a sieve and in a bucket. Gently put the second batch of wings in the hot oil.
When the wings are done dripping out, put it on a kitchen-paper-layered plate and let the chicken-wings rest for further oil absorption. (Only do this if you are health conscious.) Serve when still hot.

I hope you like it, try it out and have fun experimenting!

Home made Pork / Beef Jerky (Asian style)

One of my favorite snacks and most of the time it’s only obtainable in Asia. The freshly made meat jerky in Asia are just juicy, smoky and certainly delicious. They have it in variants of Chicken, Beef and Pork and in different flavours.

However it is hard to come by when you are living on the other side of the world. If you don’t know it yet. When flying to Asia back and forth, meat products are prohibited as souvenir to take back with. On some occasions it is possible for me to enjoy the meat jerkies from Asia, when relatives or friends with gifts pass through the customs.

In recent weeks I saw a FB videopost about a DIY homemade meat jerk and today I thought why not do it myself. So I watch the video of a youtuber and noted down the recipe, gathered the ingredients and made it myself.

I followed her recipe and changed bits of the ingredients.

ingredients: (Pork)
450-500 gram grounded meat (Pork)
100 gram sugar
2tbls or 30ml Fish sauce
1.25tbls or 20ml Soy sauce
1.25tbls or 20ml Dark Soy sauce
1.5tbls or 25ml Cooking wine
5 gram Five spice powder
2 gram Ginger powder

Honey

Preheat the oven at 150 degree Celsius.
Add the sugar, the sauces, the wine and the powders all in a bowl and mix it all together. When done, add the grounded pork in pieces to the sauce mix. Yet, again mix the meat and sauce mix until it becomes a paste-like-substance.

Lay out a baking sheet on a tray, put some meat-paste on the sheet, cover the paste and the tray with some transparent foil. Take a rolling pin and roll out the meat paste on the tray. Roll the paste evenly in 3mm thickness. remove the foil and put the plate in the preheated oven of 150 degree Celsius. Bake it 15min

After the first 15min get it out and pour out the excessive liquids and flip it over for an other 15min oven time. In the mean time whip up some honey water. Put a tablespoon of honey in a bowl and add some water. Mix it up until the honey is dissolved.

After the second 15min get the jerky out. Polish the jerky with some honey water and put it back into the oven for 4-5min at 180 degree Celsius. Do this again but by flipping it over and honey-water the jerky on the other side. After the second 4-5min, Get it out and enjoy your Homemade Pork/Beef Jerky.

ps. For Beef see below.

ingredients: (Beef)
450-500 gram grounded meat (Beef)
100 gram sugar
2tbls or 30ml Fish sauce
1tbls or 15ml Soy sauce
1tbls or 15ml Oyster sauce
2tbls or 30ml Cooking wine
0.5tbls or 7ml Sesame oil
7 gram black pepper powder
Honey